User Manual

VEVA Smart Tennis Ball Machine

Complete guide covering safety, app connection, remote control, and full specifications for every VEVA machine series.

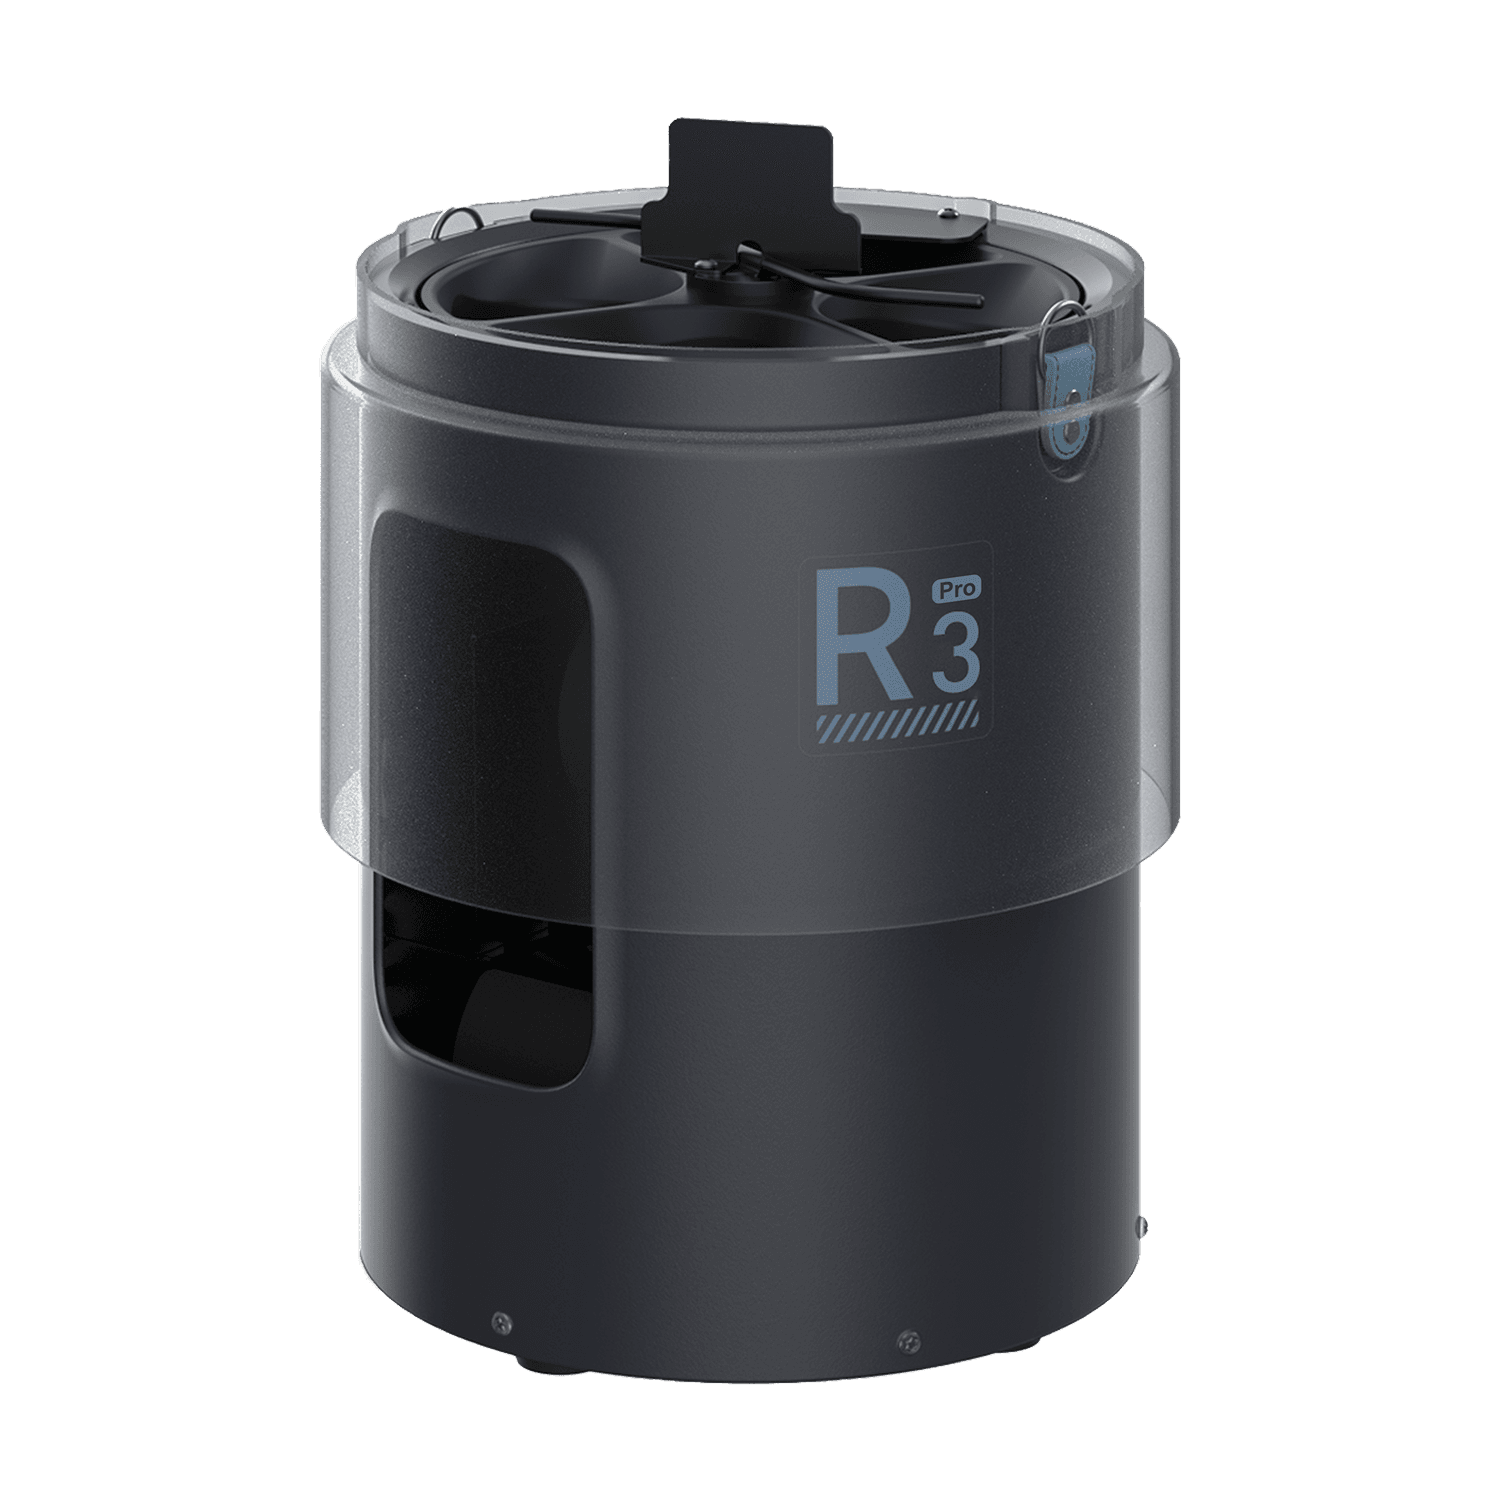
R3 Smart Tennis Ball Machine
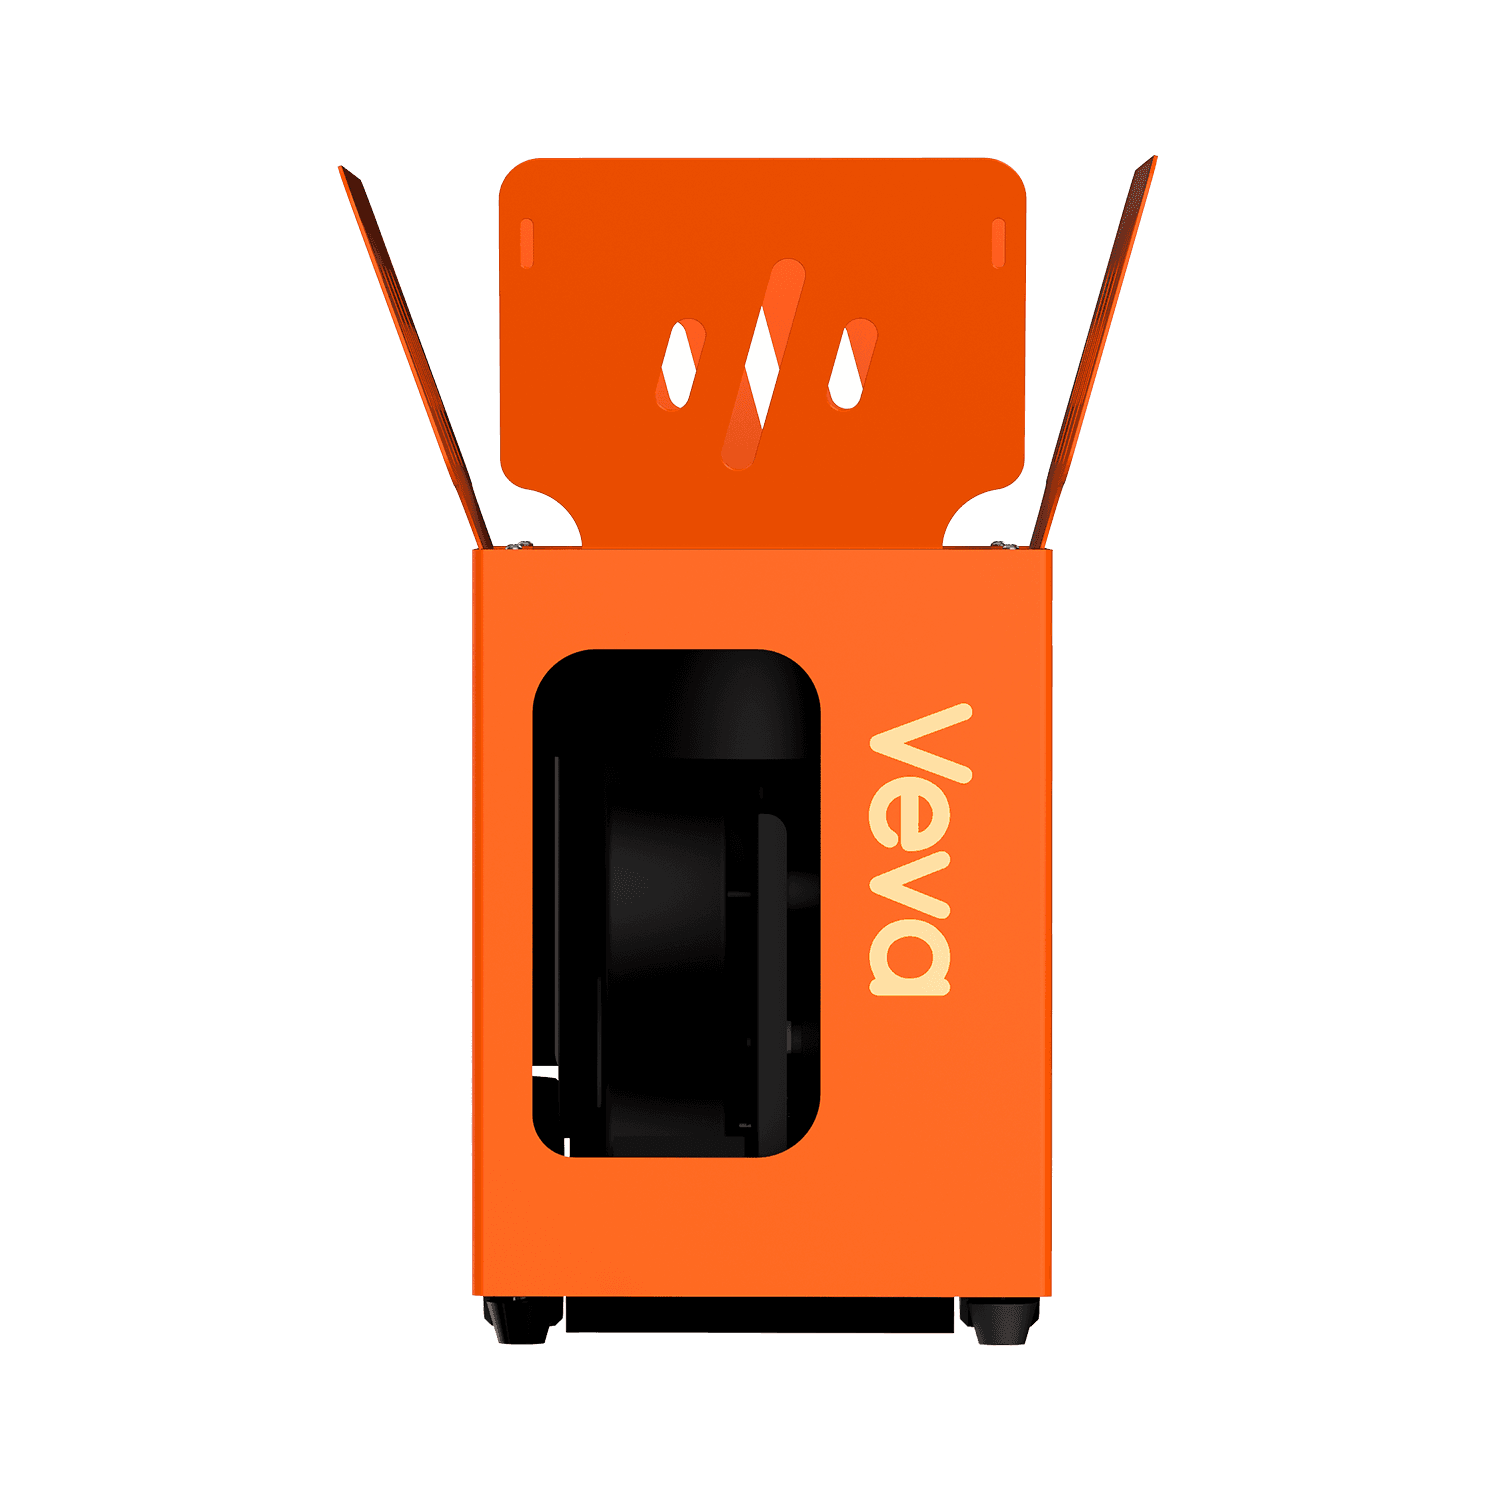
V3 Smart Tennis Ball Machine
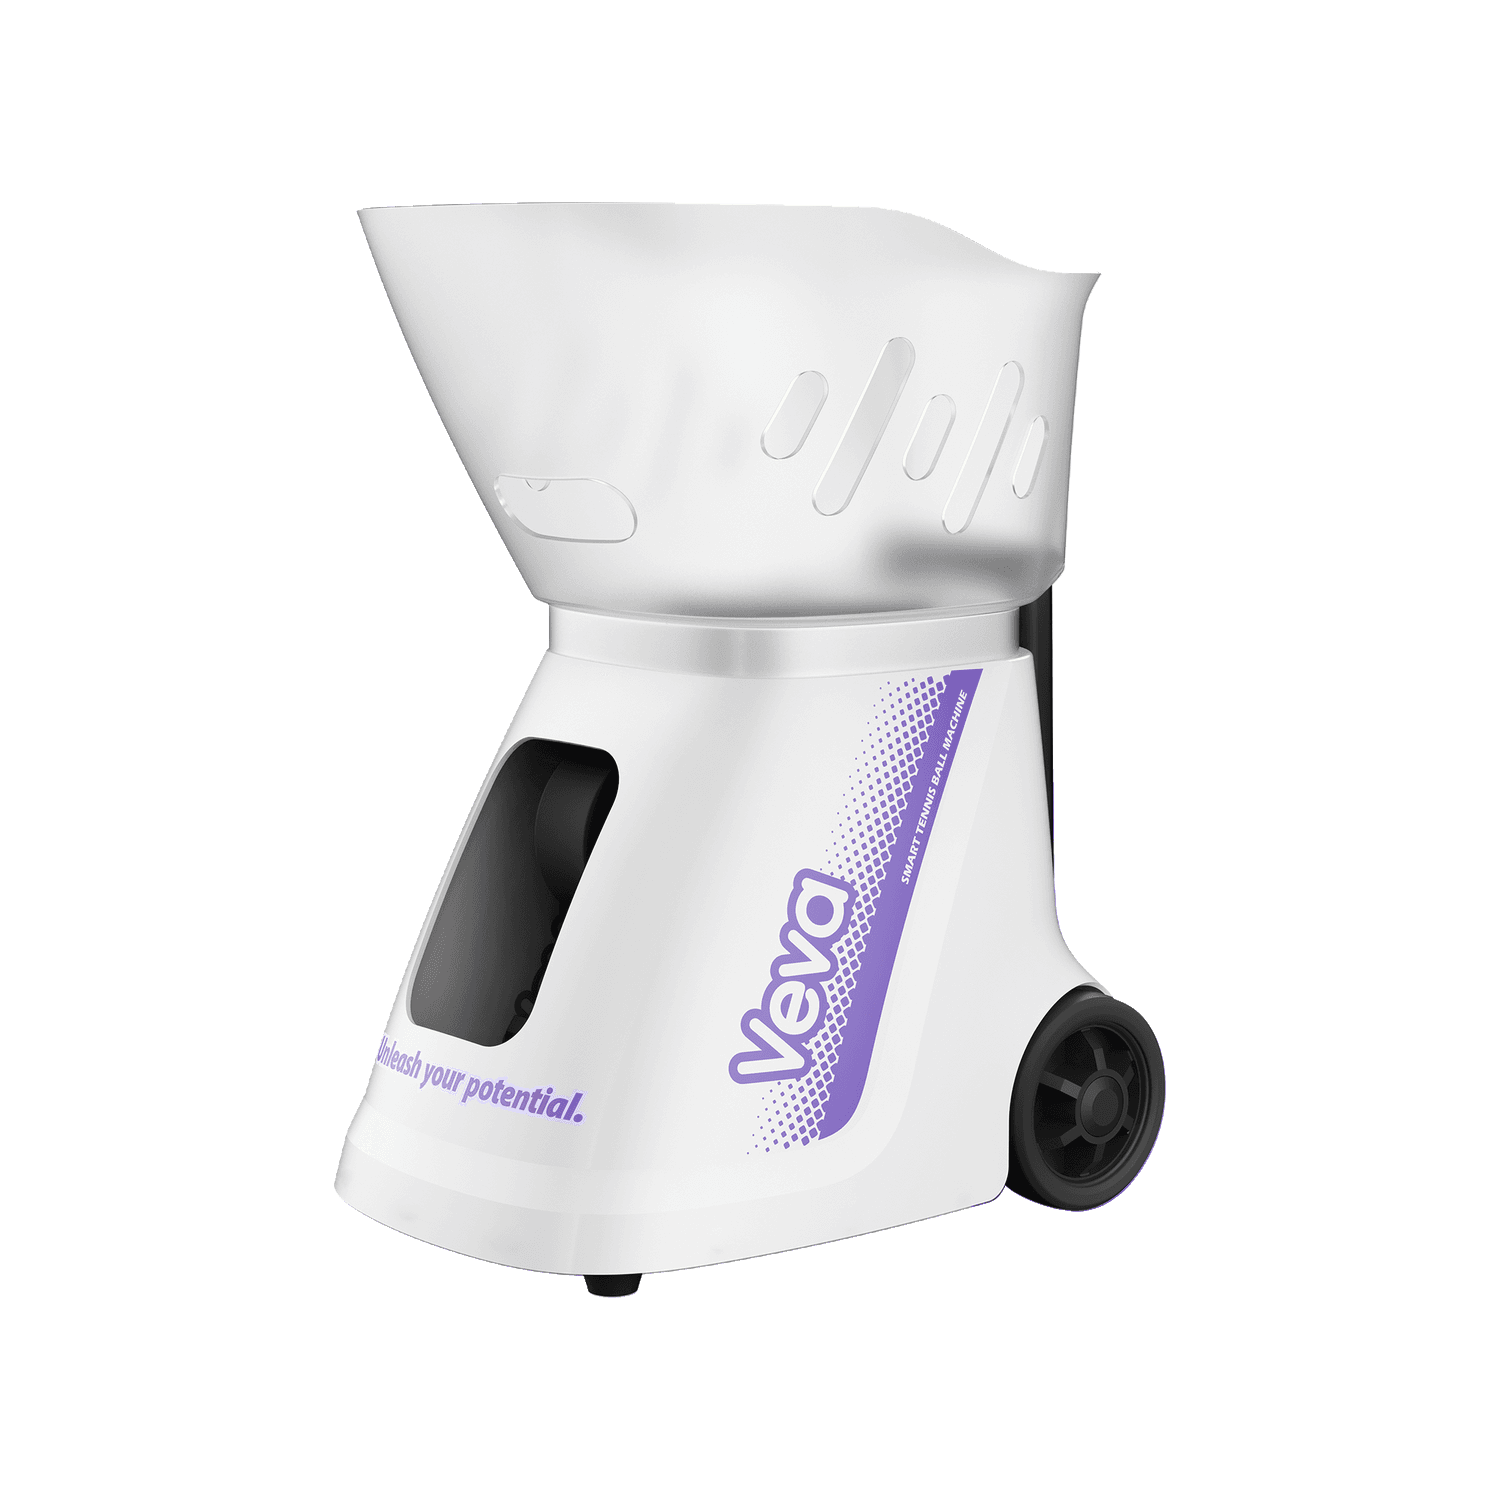
P3 Smart Tennis Ball Machine

01

Safety Precautions

Please read all safety instructions carefully before operating the machine.

01Keep children away from the machine during operation. Adult supervision is required at all times.
02Do not place hands, feet, or any body parts near the ball exit opening while the machine is powered on.
03Use only standard-size tennis balls recommended by VEVA. Do not insert any other objects into the machine.
04Place the machine on a flat, stable surface before operation. Do not use on slopes or uneven ground.
05Do not operate the machine in rain, wet conditions, or near water sources.
06Disconnect the power supply before performing any maintenance, cleaning, or troubleshooting.
07Do not block or cover the ventilation openings. Ensure adequate airflow around the machine.
08Use only the original VEVA power adapter and charging cable. Using incompatible accessories may cause damage or safety hazards.
09Do not disassemble, modify, or attempt to repair the machine yourself. Contact VEVA after-sales support for all service needs.
10Store the machine in a dry, cool place when not in use. Avoid direct sunlight and extreme temperatures.
11Ensure the ball hopper is securely attached before starting the machine.
12Stand behind or to the side of the machine during operation. Never stand directly in front of the ball exit.

02

First Use & Charging

Use the model-specific sequence below to connect the battery, start safely, and prepare the machine for its first session.

Inspect before power-on

Place the machine on level ground and check the battery, cable, hopper, and launch opening.

Charge before first use

Fully charge the supplied battery with the matching charger before the first training session.

Start in the right order

Connect the battery first, prepare the ball frame or hopper, then use the main power switch.

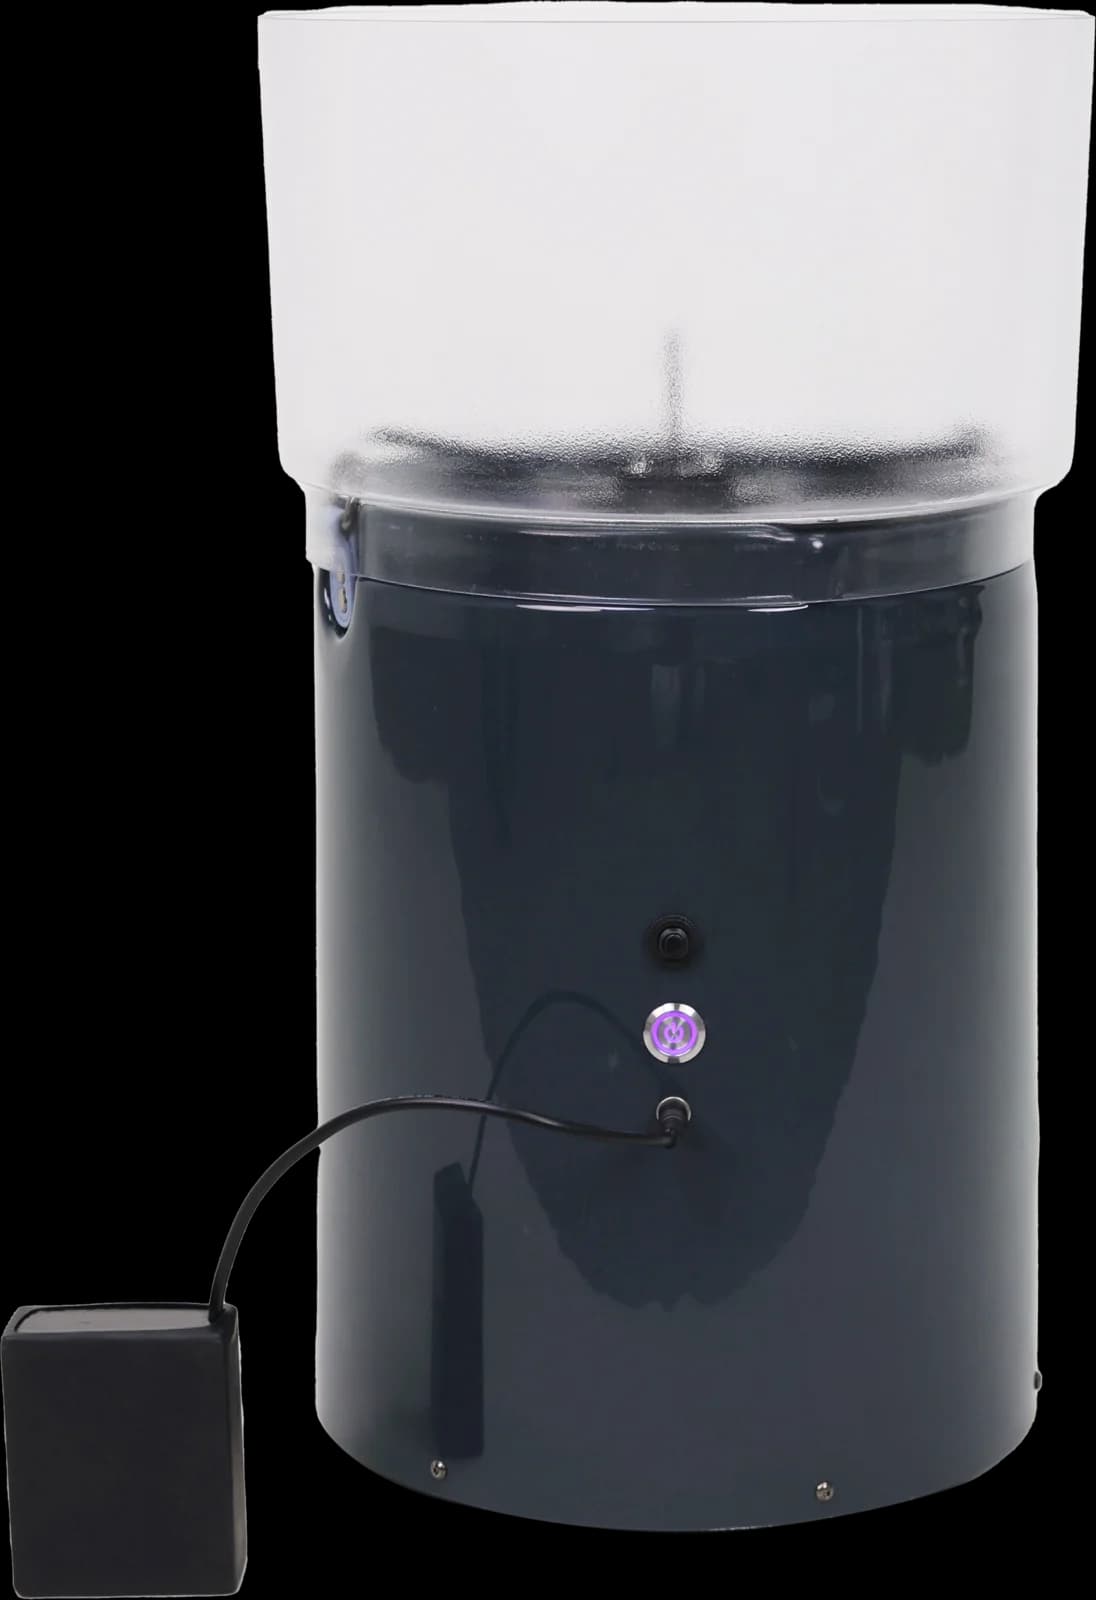
R3 external battery pack01
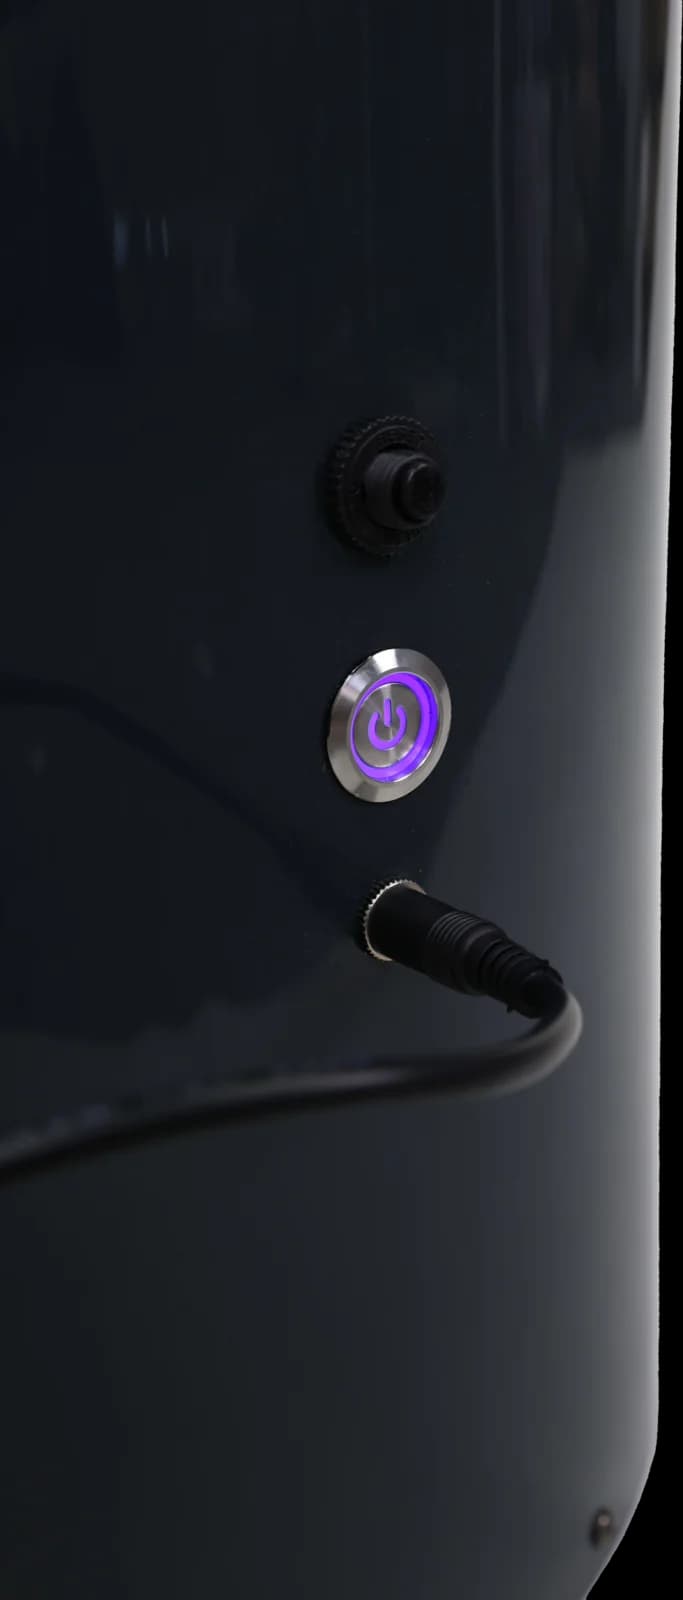
R3 power connection port02

External battery setup

Connect, then power on

The R3 uses an external battery connection at the machine body.

  1. 01Position the machine securely and make sure the power switch is off.
  2. 02Connect the battery lead firmly to the machine power port.
  3. 03Open and secure the ball frame, then turn on the main power switch.
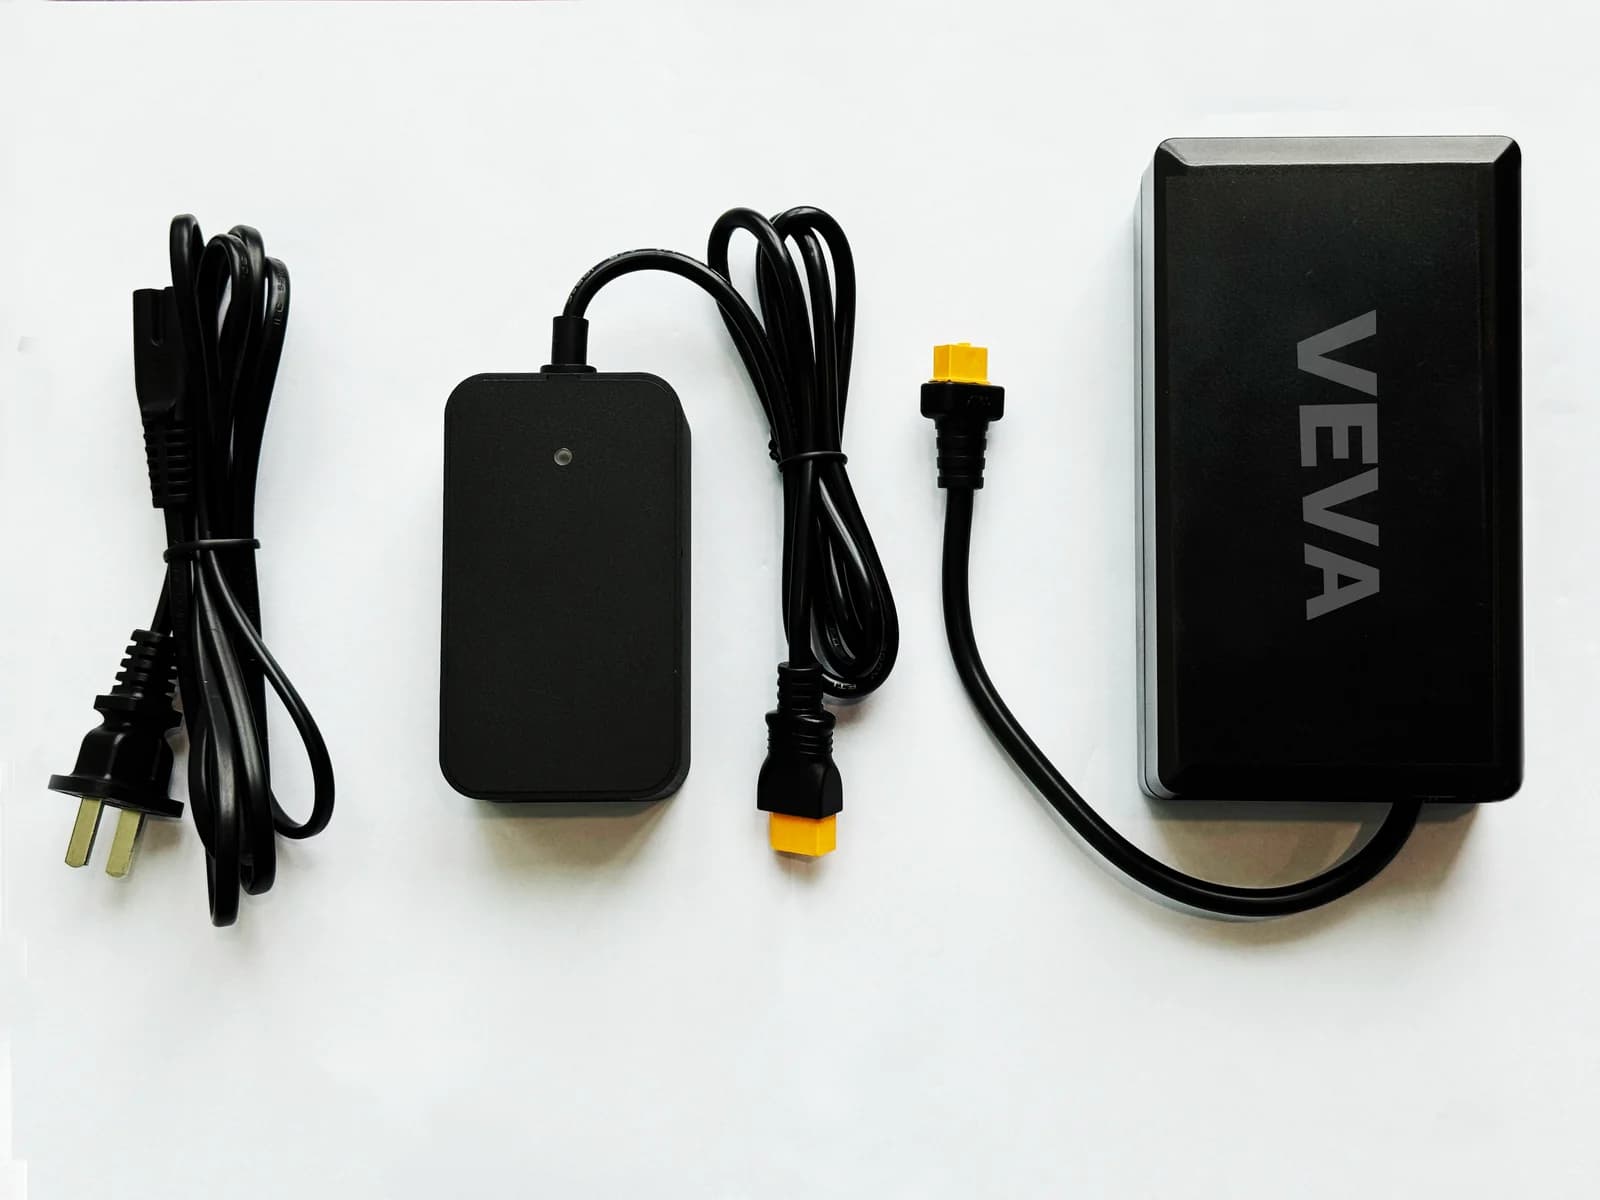
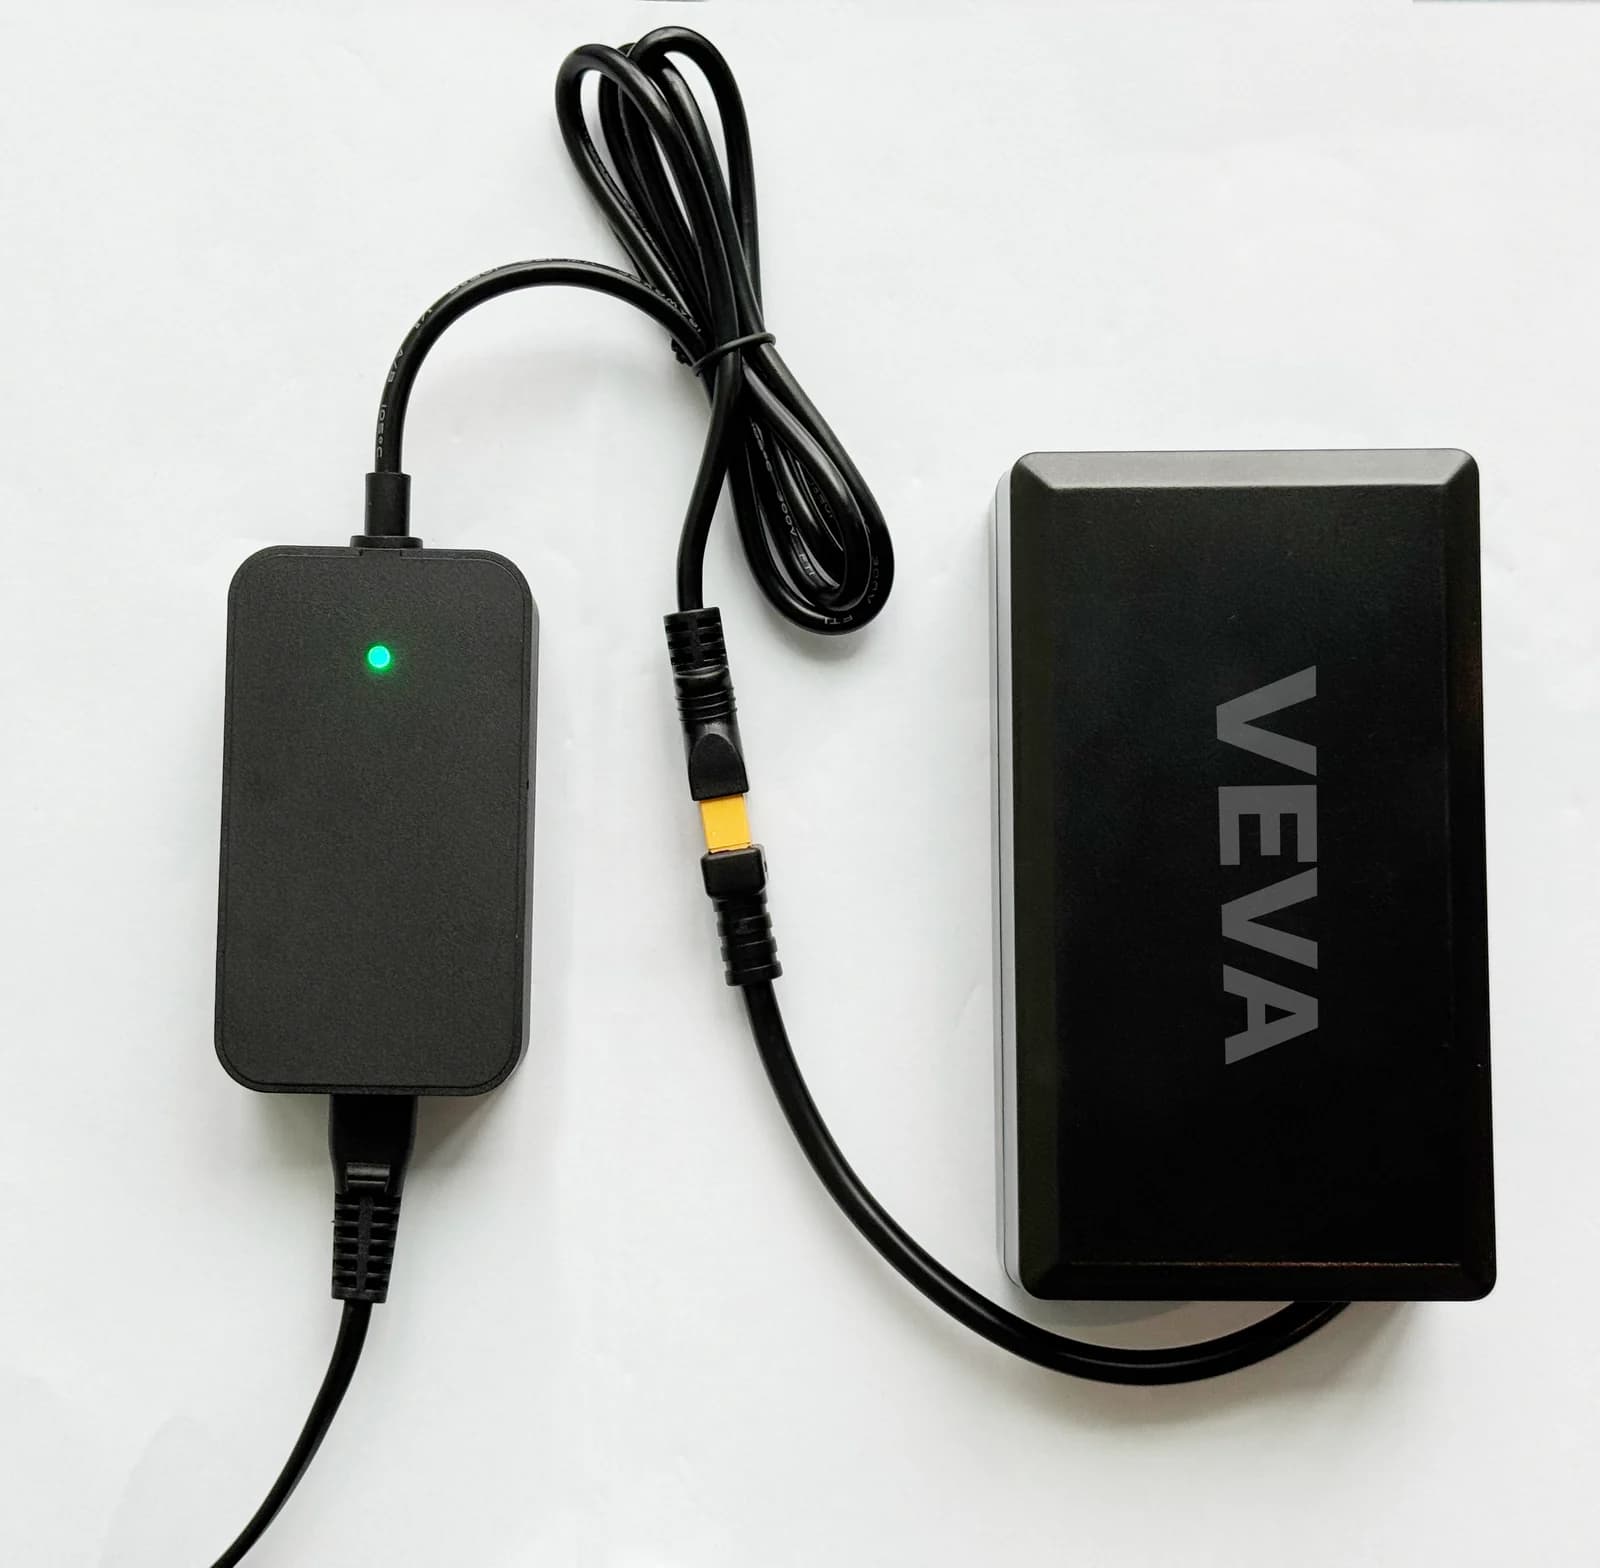
Battery charger and power cable supplied with the machine01
Machine battery connected to the charger02

Charging the supplied battery

Remove the battery when required by your model and use only the supplied charger on a dry, ventilated surface.

The charging indicator is red while charging and green when the battery is fully charged.

  • Switch the machine off before connecting or removing the battery.
  • Connect the charger to the battery, then connect the charger to mains power.
  • Keep the charger and battery dry and away from the court during charging.
  • Disconnect mains power before unplugging the charged battery.

03

App Connection & Setup

Connect to your VEVA machine using the WeChat mini program for full remote control and training customization.

Real app flow

From quick-start sheet to live training

This section follows the actual VEVA setup journey shown in the paper guide and mobile screens: prepare the machine, scan, connect, then choose a training mode.

Before you start
Turn the machine on and wait for the self-check to finish.
Keep the ball hopper open during startup to avoid rubbing damage.
Stay near the machine with Bluetooth enabled while pairing.

Mini program preview

Prepare the machine

Interactive walkthrough

VEVA

APP / Mini Program Connection

Quick-start route from the printed sheet

1
Power

Switch on the machine and wait for self-check.

Hopper open

Keep the hopper open during startup to prevent rubbing damage.

Open VEVA

iPhone app

Android app

15:19
100

My Devices

No Device Added

Please add a device to start training

04

Remote Control

Your VEVA machine includes a wireless remote control for convenient court-side operation without a phone.

Veva

Fully extend the top antenna before use.

Start/Pause

Single press to start or pause ball delivery. Indicated by the ⏸/β–Ά icon.

Tap or hover a button on the handset to preview what it changes on the machine.

Four Main Modes

BaselineForehand/Backhand & VolleySmashToss

The Mode Switch button cycles through the four main modes above.

Baseline β€” Standard rally practice from the baseline.
Forehand/Backhand & Volley β€” Alternating forehand and backhand shots with net approach volleys.
Smash β€” High lobs for overhead smash practice.
Toss β€” Gentle ball toss for serve practice or warm-up.
The remotes for R Series and Lite products are optional.The remote uses a CR2032 battery. Replace when the indicator LED becomes dim.

05

Machine support videos

Model-specific videos from the PeachMe portal. Use them for quick setup, switching on, error recovery, and first practice.

No machine support videos are configured yet.

06

Machine models

R3, V3, and P3 specifications

Open a model tab to review its machine overview, key specs, and hardware components.

R3 Series β€” Portable & Intelligent

R3

R3 Smart Tennis Ball Machine

The R3 is VEVA's compact, portable smart ball machine β€” ideal for individual practice, coaching sessions, and club demos. Lightweight enough to carry to any court.

R3 Smart Tennis Ball Machine

At a glance

Ball Capacity

80 balls

Speed Range

20–80 km/h

Battery Life

Up to 4 hours

Connectivity

Bluetooth + App

Ball Capacity80 balls
Speed Range20–80 km/h
Frequency1.5–6 sec
Spin TypesTopspin, Backspin, Flat
OscillationMulti-angle
Battery LifeUp to 4 hours
Charging Time3–4 hours
Weight18 kg
ConnectivityBluetooth + App
Remote ControlIncluded

Components

01

Ball hopper β€” Top-loading 80-ball capacity hopper with lid

02

Ball exit opening β€” Adjustable launch tube with elevation control

03

Control panel β€” On-machine LED display and physical buttons

04

Spin wheels β€” Dual counter-rotating wheels for topspin and backspin

05

Power switch β€” Main power on/off with indicator LED

06

Charging port β€” DC input for the included power adapter

07

Wheels & handle β€” Built-in wheels and retractable handle for transport

08

Remote receiver β€” Internal antenna for wireless remote control

07

After-Sales Service

VEVA provides comprehensive after-sales support for all machines.

Warranty

All VEVA machines come with a 2-year limited warranty covering manufacturing defects. The warranty does not cover damage from misuse, unauthorized modification, or normal wear and tear.

Contact Support

Maintenance Tips

  • Clean the ball exit and spin wheels regularly to maintain accuracy.
  • Charge the battery fully before long-term storage.
  • Keep the machine covered when stored outdoors.
  • Use clean, dry tennis balls to prevent debris buildup.
  • Inspect the hopper and feeding mechanism before each use.
Privacy settings

Choose what PeachMe can load

We use essential cookies to keep language, sign-in, and cart flows working. Optional analytics, embedded maps, or third-party verification services stay off until you allow them here.

Read privacy policy